
MitID is a secure and universal (in Denmark) identification method. With Addo you can use MitID as identification and signature method.
Note - If you need to sign with MitID, you must log in with MitID before you can view the document, and then you just need to approve for your MitID stamp to appear on the document.
1. What is MitID
2. MitID in "Send"
3. MitID in Templates
4. How to sign with MitID
5. What does the signature look like?
What is MitID
MitID is Denmark's new digital ID. With it, you prove who you are online - for example, when you need to transfer money in online banking or log on to borger.dk. MitID will replace NemID at the end of 2022.
In terms of digital signatures, MitID is an AeS (Advanced Electronic Signature) according to the eIDAS regulation (you can read more about eIDAS here)
A signature with AeS is as legally binding as a physical signature. An AeS signature contains information about the signer that can be used in court to prove the validity of the signature. However, personally sensitive data is not visible to the person signing the document, so the information is "locked" in the signed document.
MitID is specifically designed to become a QeS (Qualified Electronic Signature) in the future, which is the highest level of authorization and security according to the eIDAS regulation.
By using MitID, you can be sure that those you send to, if they are Danish citizens, will be able to use the solution. In addition, you will be sure that it is the right person who has accessed and signed the document, as you will always be able to see who has accessed the document.
MitID in "Send"
In Addo you have two different options to set MitID as signature method. You can either do it before sending the document, or in Templates. We will now go through both methods.
- Click Send
- Click Add signer
- Click on the menu below Signing Method and select NemID/MitID
- Click Add
In the box "CPR Number" you can add a SSN, this is however optional. This is an extra measure of security you can add to your document, to ensure that only the person with that CPR number can open the document.
Your transaction is now set to be signed with MitID, and you can now send it.
MitID in Templates
We will now demonstrate how to change your template to use MitID.
When a template is set to use a particular signing method, any sending that uses that template will by default use that signing method.
However, you can change the signature method to something else at any time before sending if you do not want this transaction to use MitID.
- Click the cogwheel in the top right corner
- Click Templates
- Click on the template you wish to change. (If you want to create a brand new template, you can read more here)
You will now be led to a new page. - Click on the menu below Signing method and select MitID.
- Remember to save in the bottom of the page.
How to sign with MitID
To sign with MitID you must have created an account through Borger.dk
Here you will also get a User-ID which you will need when using MitID for identification.
Once you have sent a transaction using the MitID signing method, the customer will receive an email/SMS/E-box where they can access the transaction via the link provided in the message. After they have clicked on the link they will now need to do the following:
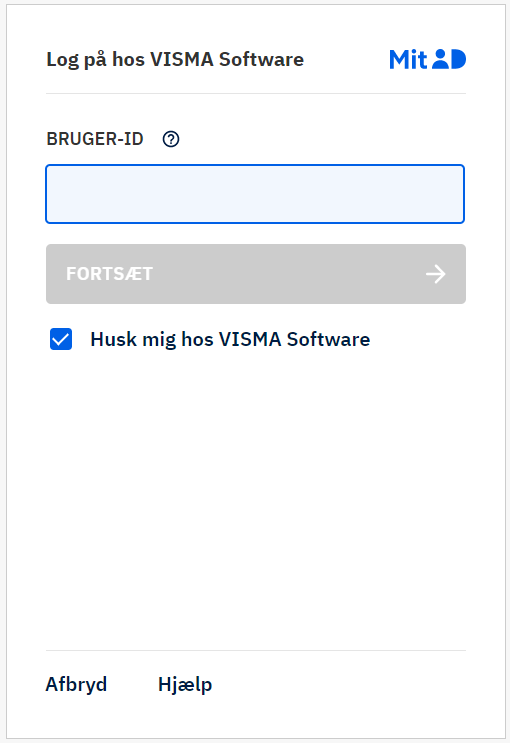
- Insert "Bruger-ID / User ID"
- Press Fortsæt/Continue. You must now find your MitID app on your phone.

- After opening the app, you will be met with the screen below:
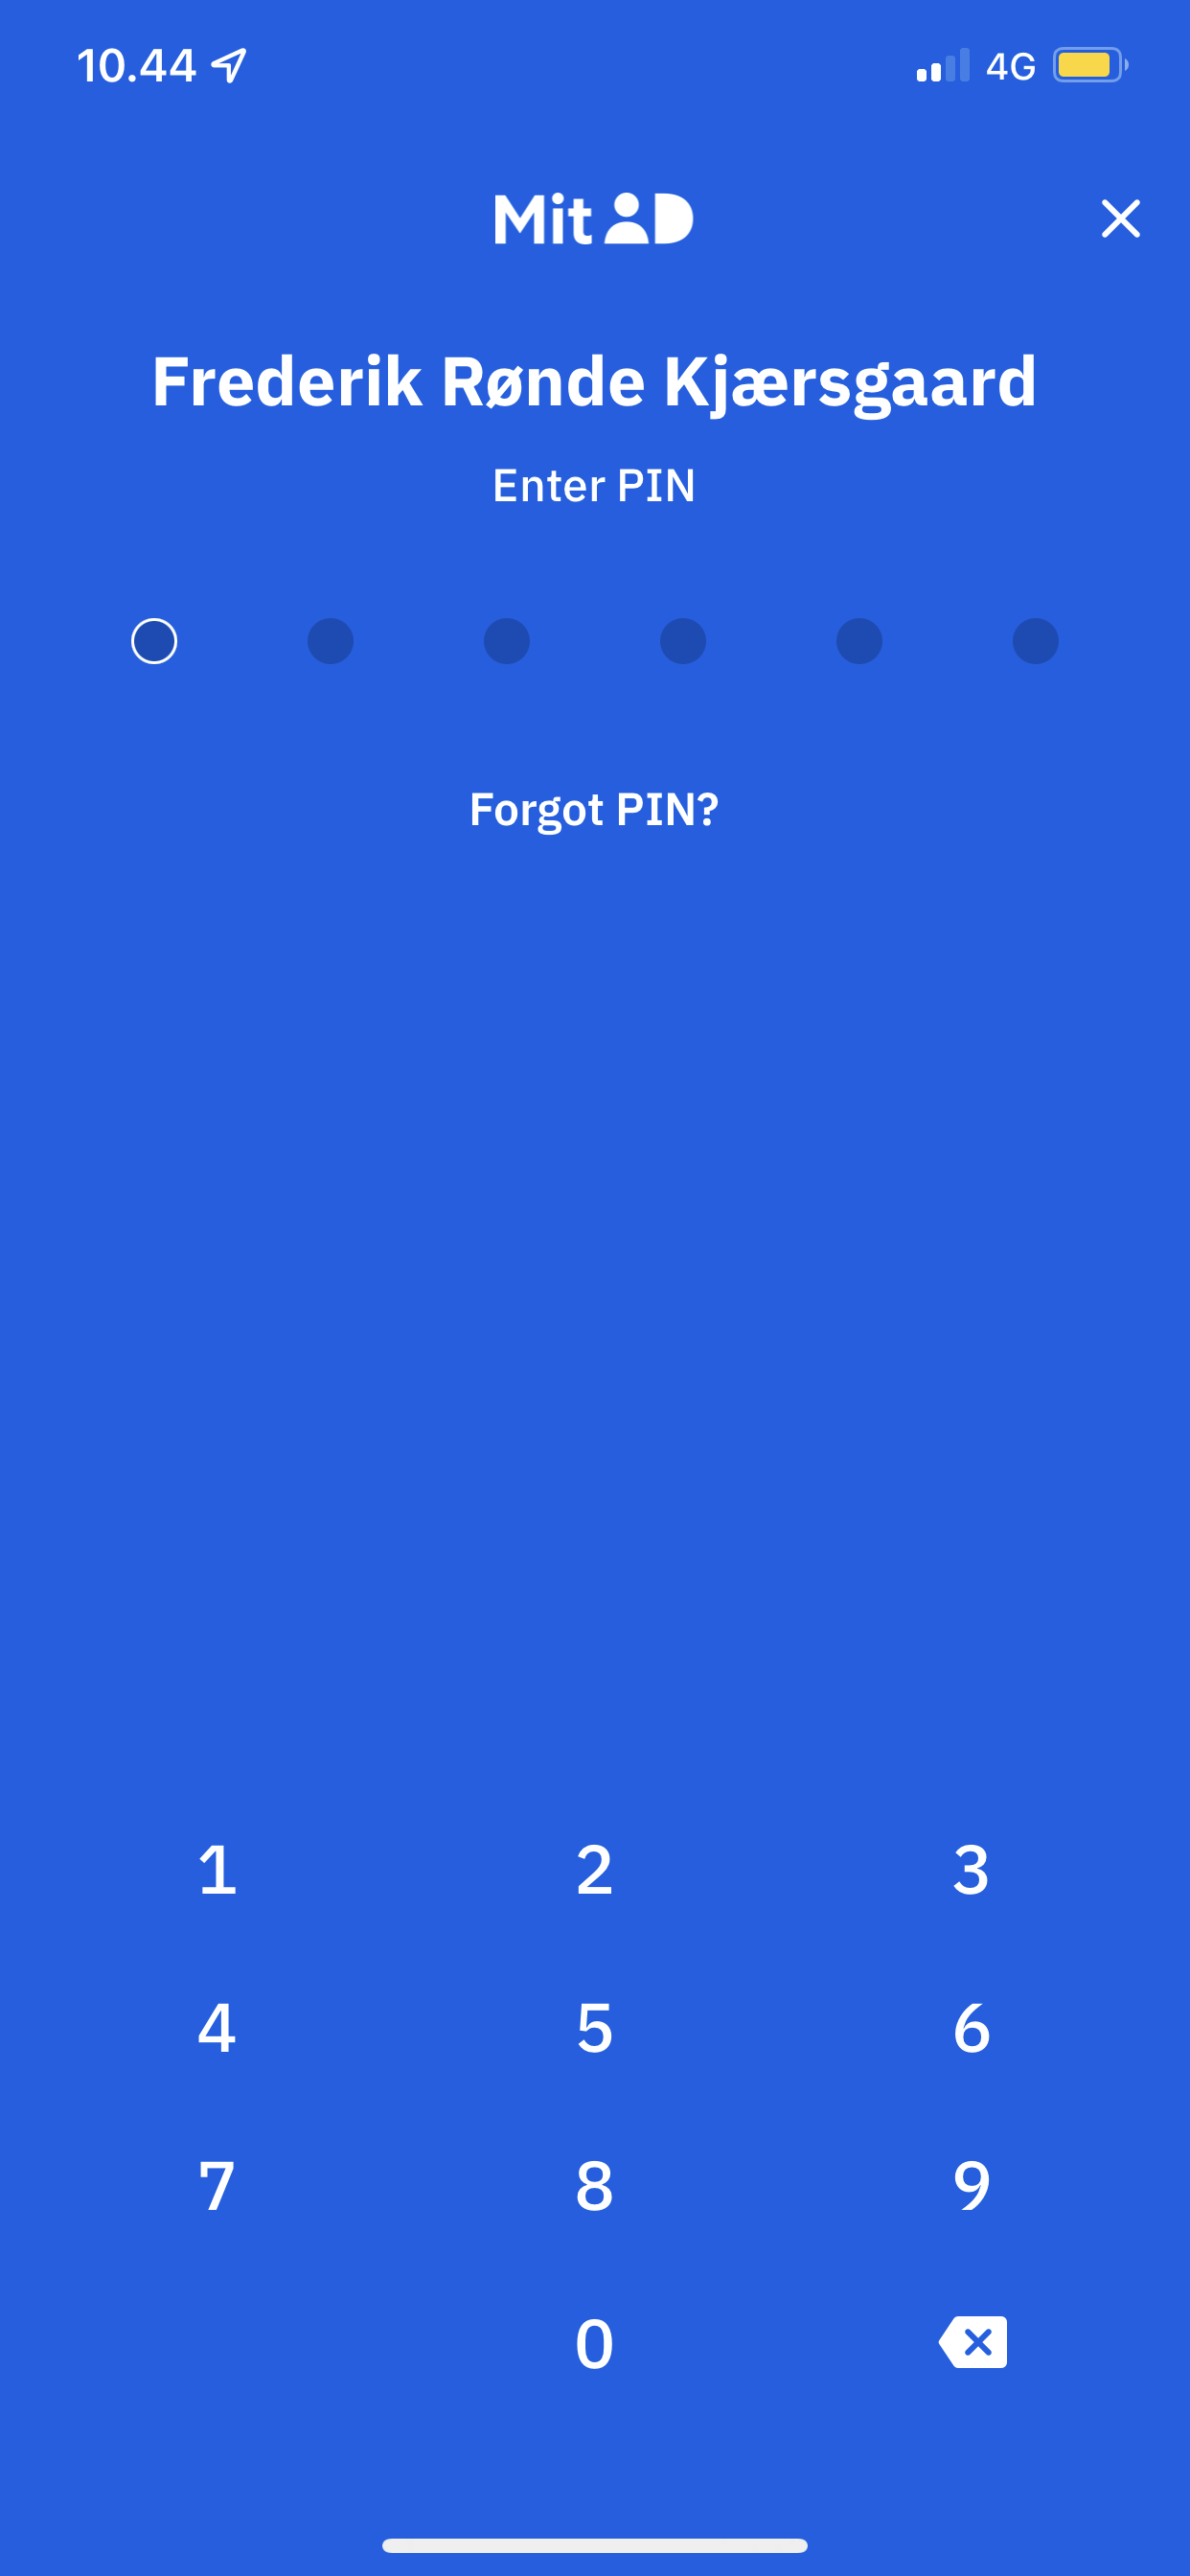
- Enter your personal (Made on Borger.dk) PIN-code i the app.
When this is done, you will be taken to the following page: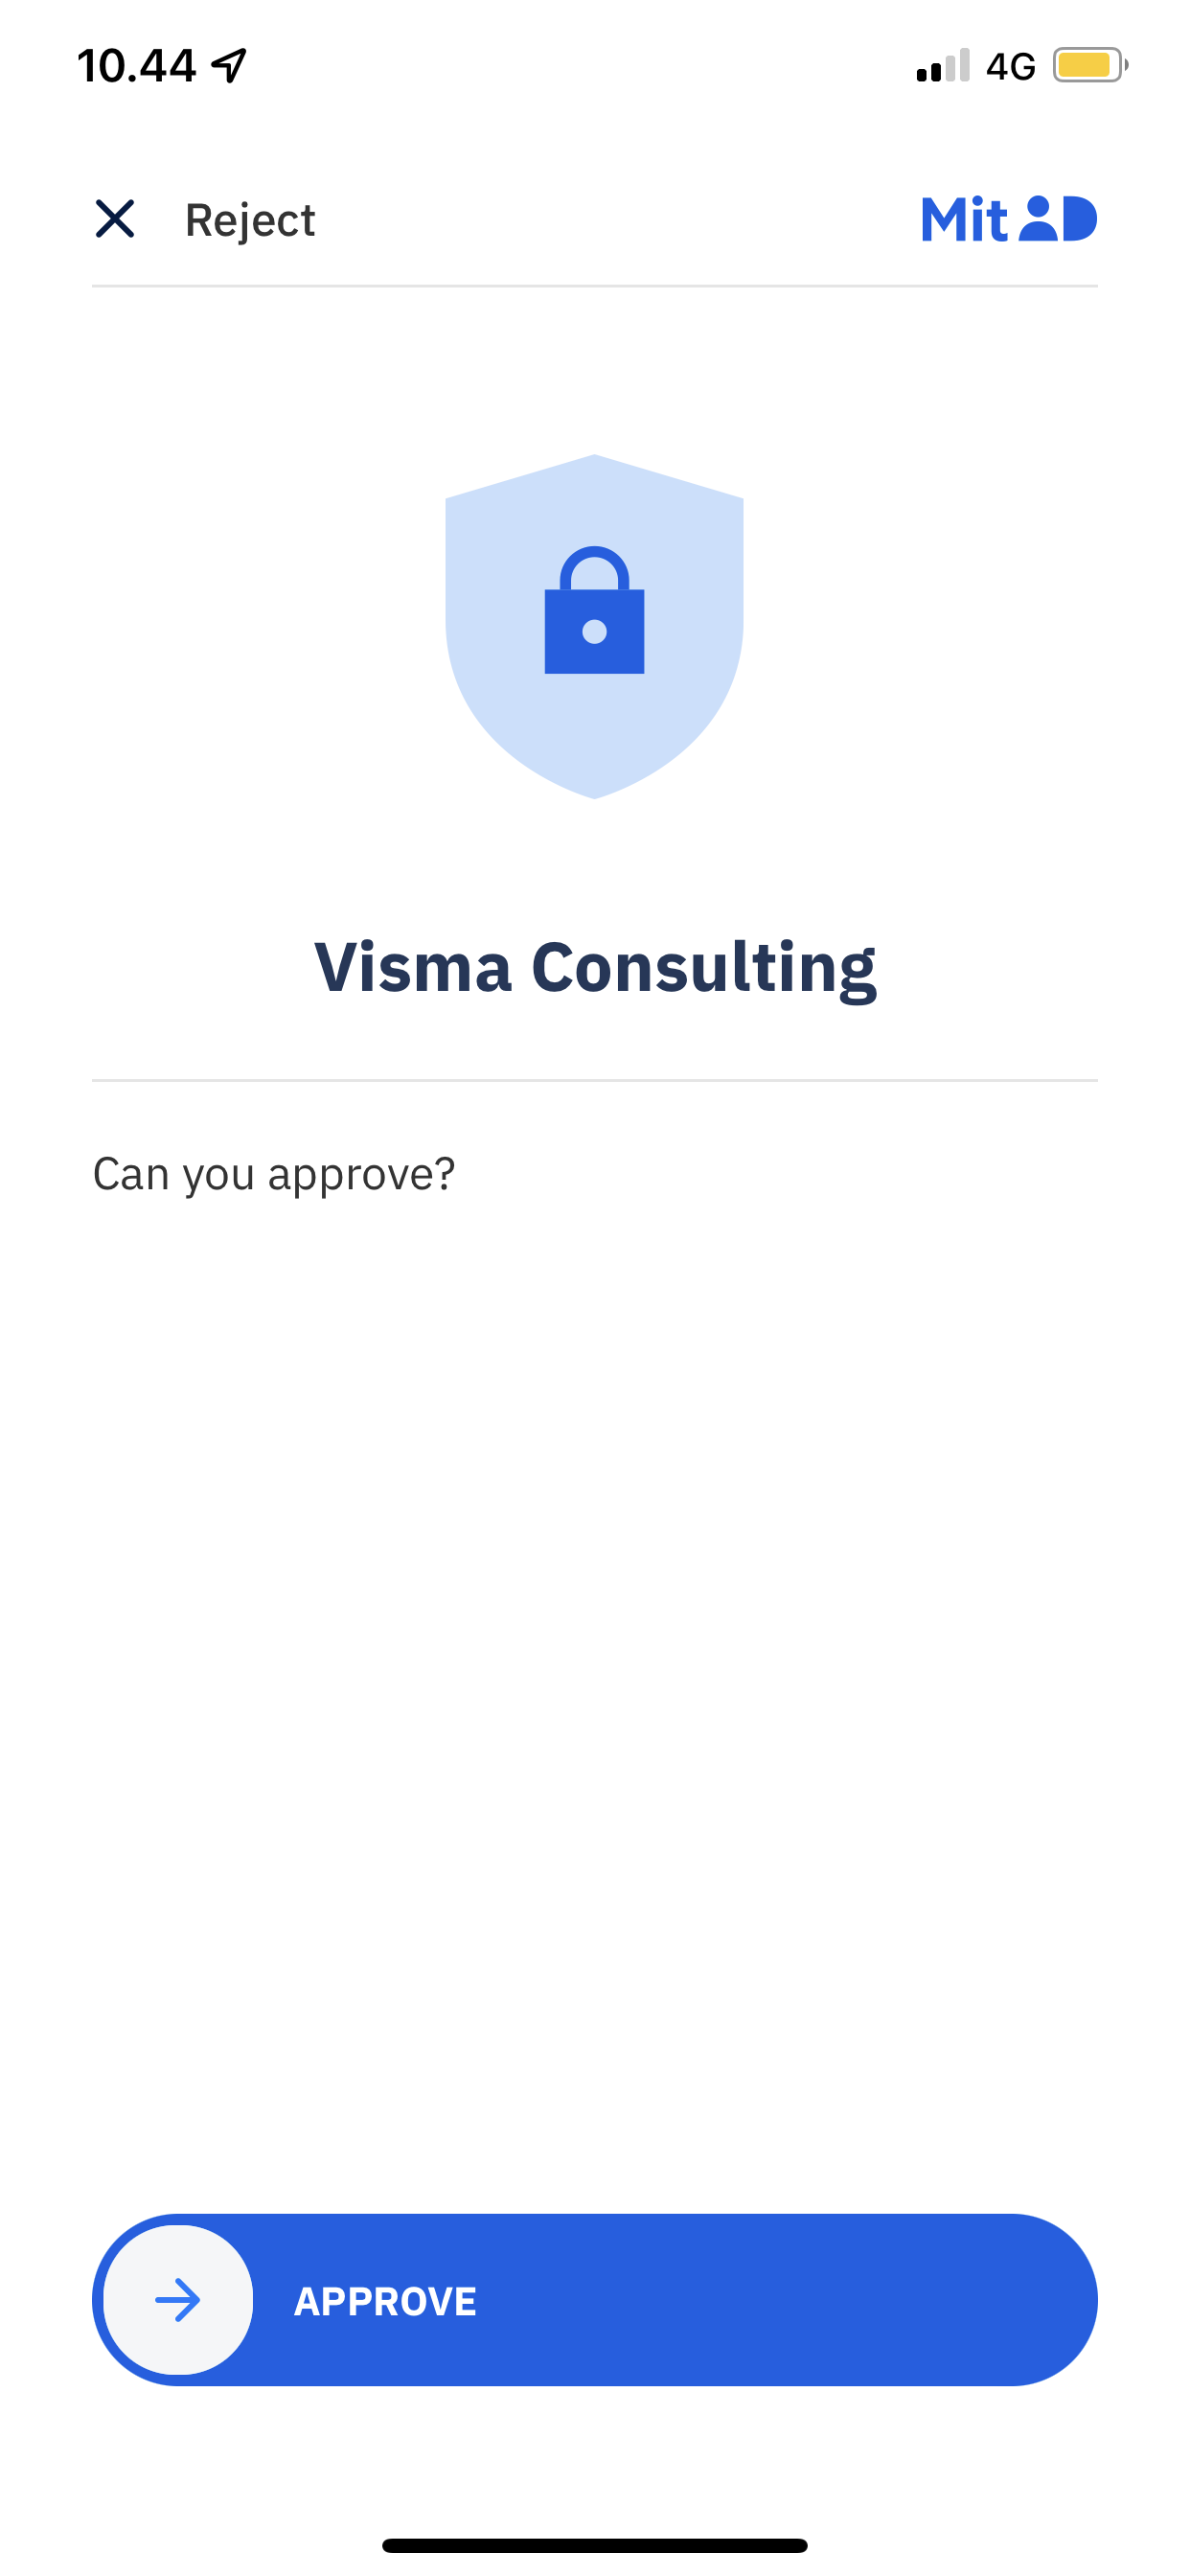
- Swipe to the right to approve login.
After you have swiped, you will recieve login confirmation: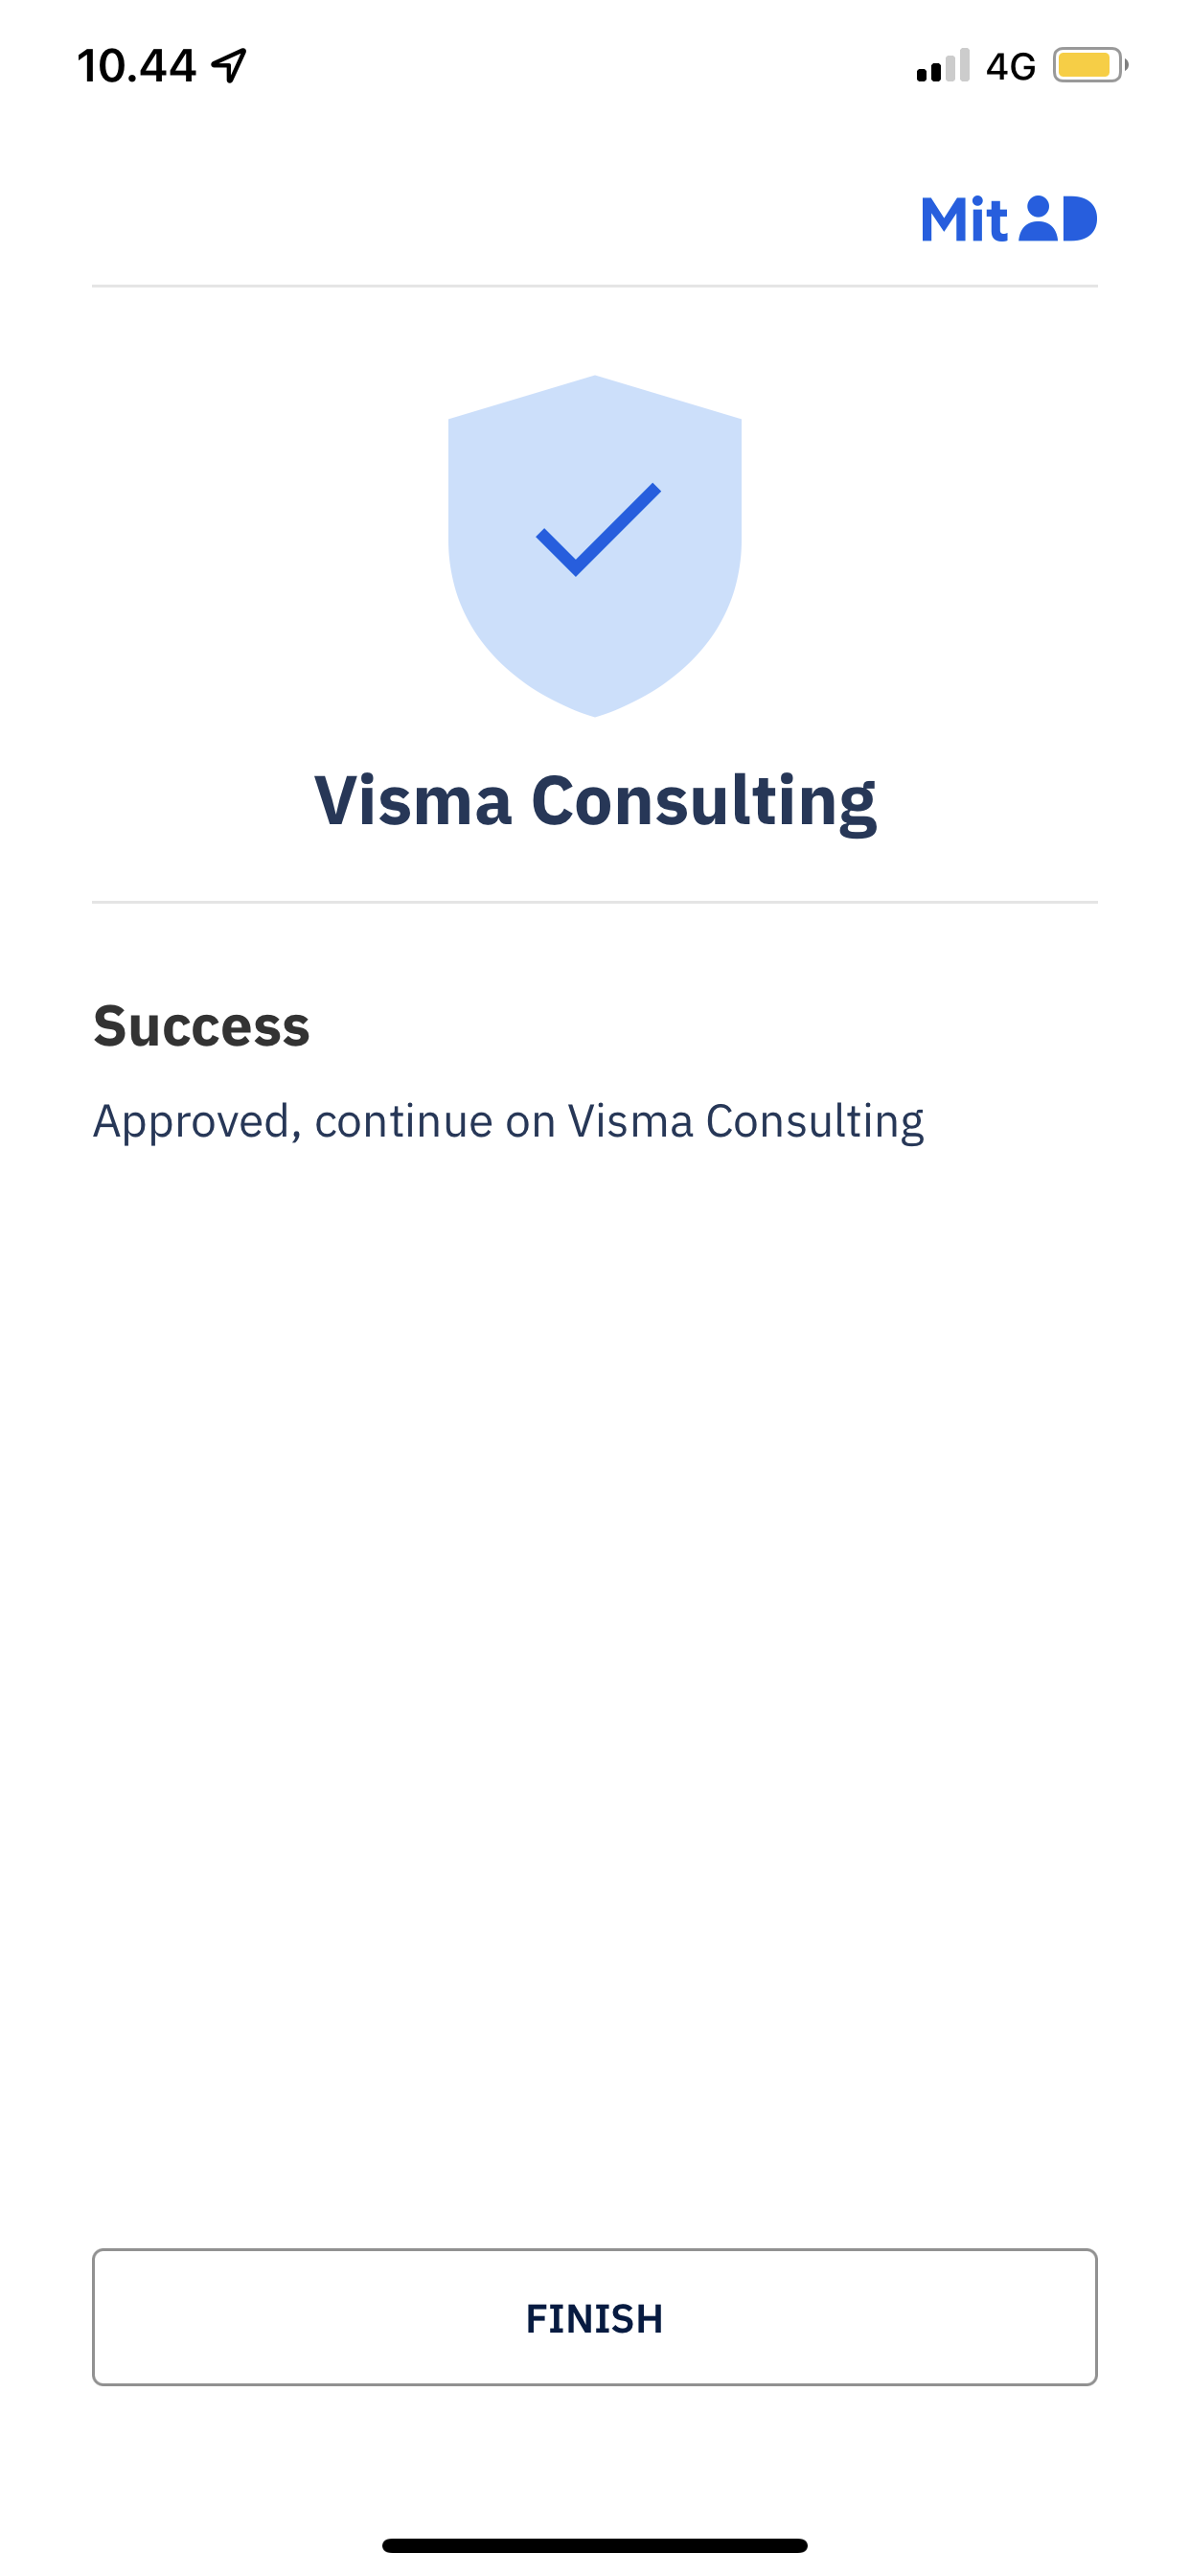
Når underskriveren har gået på sin MitID-app og har "swipet", vil de derefter komme ind til dokumentet, som de derefter skal underskrive. - Click Read and sign:
- Click Sign Document and then click Continue
The document is now signed. The signer now receives a confirmation and the copy recipients and sender receive the final signed document.
What does the signature look like?
After the document is signed, the sender and copy recipient will receive a signed document containing the special MitID stamp.
Each signatory adds an additional stamp.
The stamp looks like this (minus the yellow lines):