
If you have not set up the integration or changed your templates, follow the articles in chronological order:
- Visma HR - Integration
- Visma HR - Setting up
How to send
You start by going to the Send page. Here you select the template where Visma HR is set up, as well as the other information, documents and recipients that will be part of the transaction.
At the end of the creation of the transaction just when you press Send a pop-up window will appear asking for the Employee Number:

Here you have to insert the employee number of the person you want the documents to be stored under in Visma HR. You have the possibility to predefine the number if you know the next number in the row, but you have to make sure that the number is registered in Visma HR before completing the transaction.
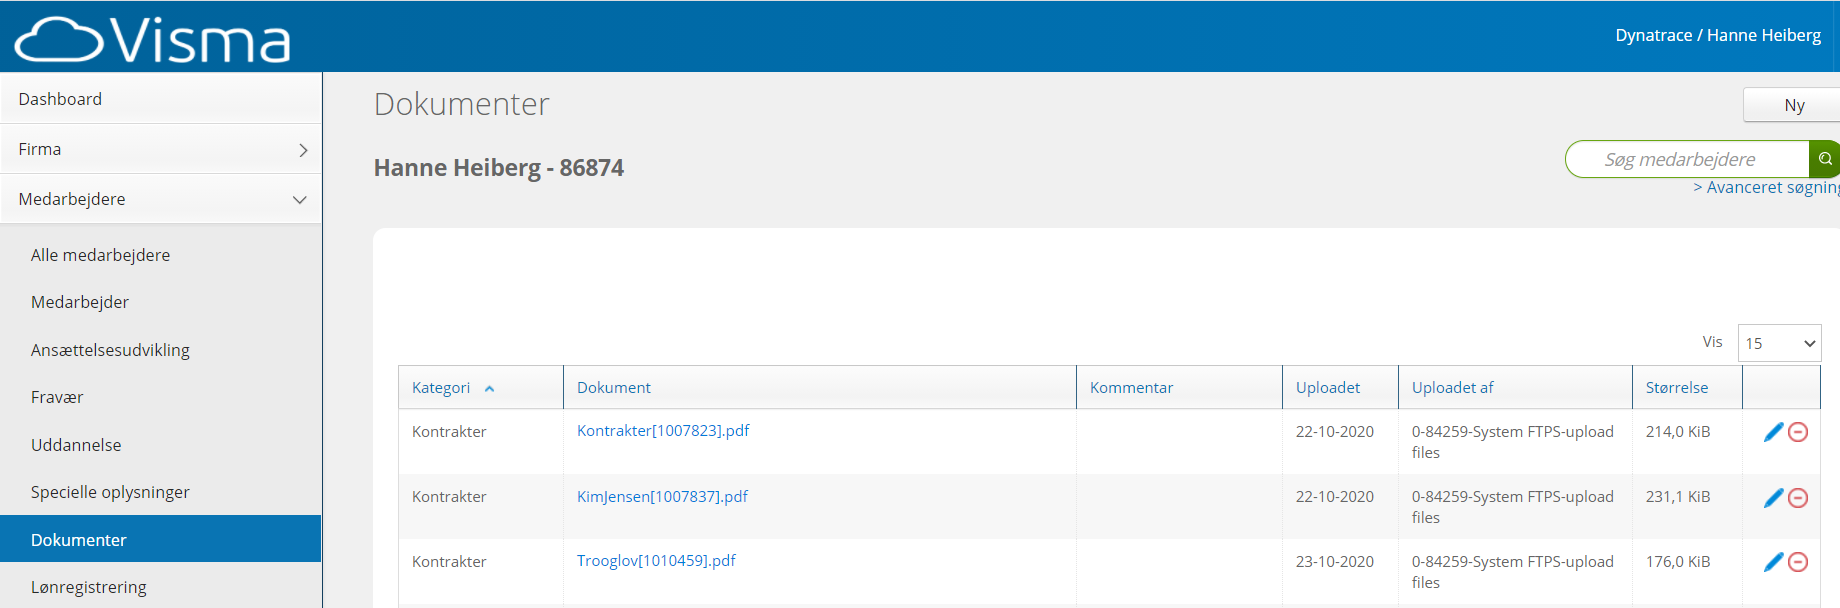
Visma HR
The signed documents will be delivered to the employee with that employee number and in the document category selected in the integration. The example here is a transaction sent to Hanne Heiberg, where the document category is Kontrakter (contracts).
It is possible to change the document category once the documents have been delivered in Visma HR.